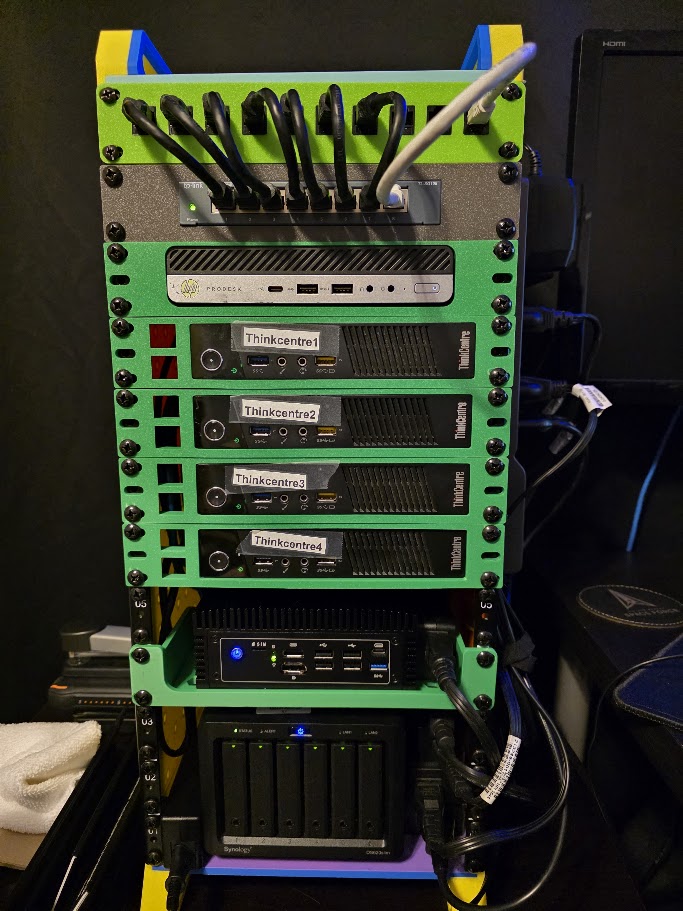
A fully 3D printed server rack, thank you to WallyFab on MakerWorld, I was able to use up some old filament that was taking up space!
It took about a week to print every piece, and quite a few spools, as you can see with all of the color changes, which in the end I kind of like. It looks like a toy!
As if I tried to make a kids’ server rack to mock up a real one. But boy I tell ya, this isn’t a kids’ rack!
It took up all 12U of space I had, as I always had 5 Mini-PCs and the NAS, but now I added a Protectli Vault to the mix for added Firewall and other security services, in order to truly separate this network from my home network. As well as “lab it up” with an additional DMZ because now I have enough device ports for that.
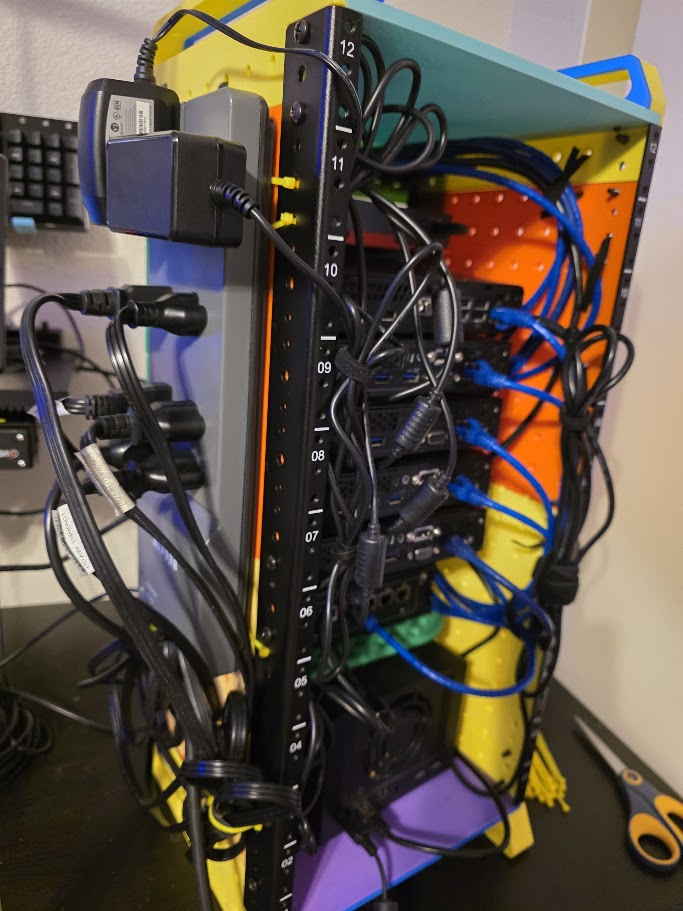
Cable management seems to be a common issue with these 10-inch racks, and I definitely ran into it. I could probably cut down a PC or two and use that space for the power bricks, but I had enough space to stuff them away and tuck them between the floating devices.
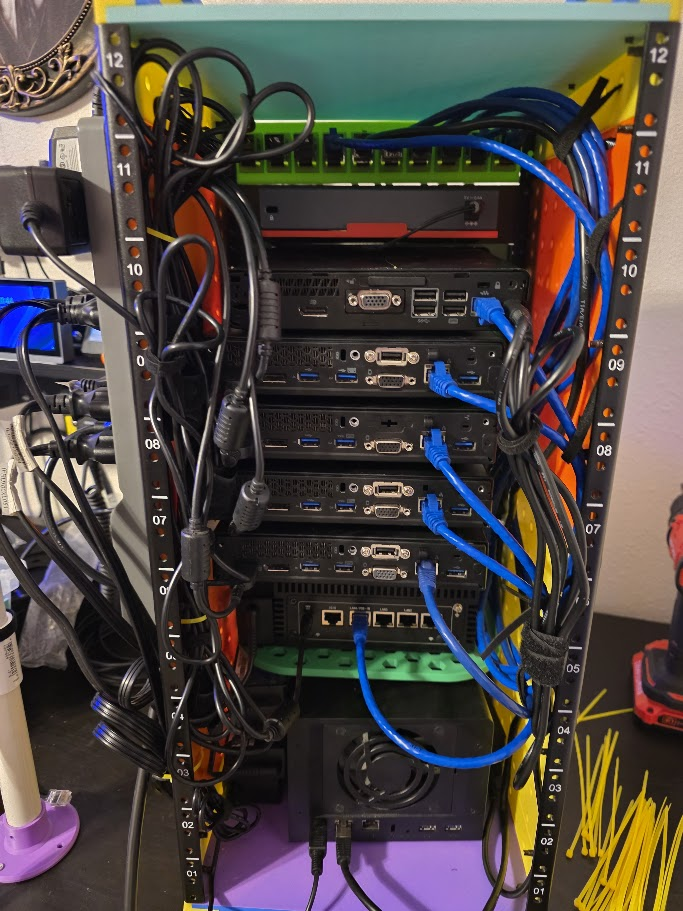
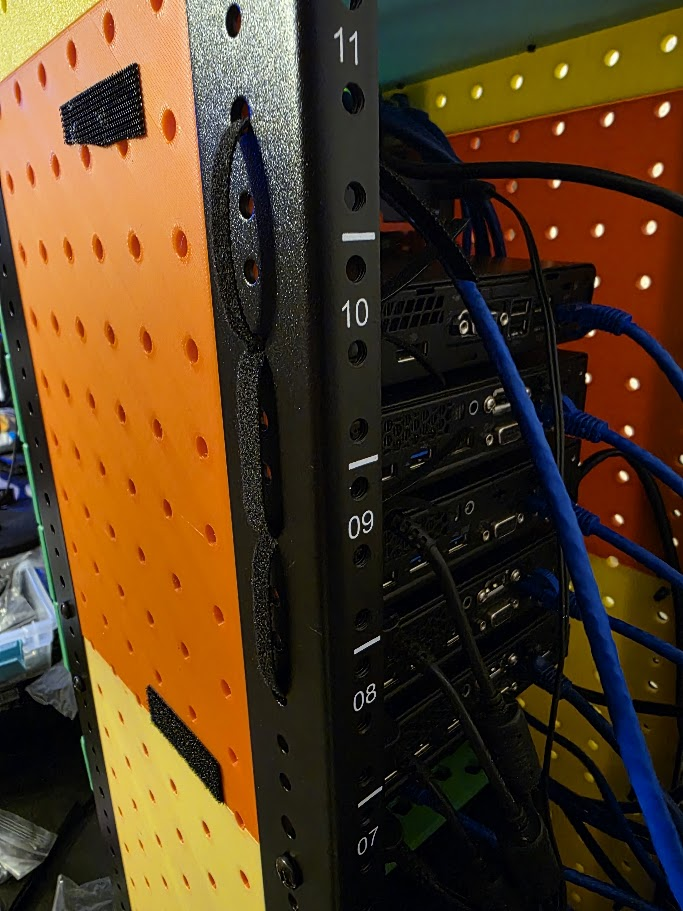
My cable management system started out with a lot of velcro… But that quickly turned into zip-ties after trying to squeeze my hands in the tight space. I’ll just let future me deal with that.
Overall, a little messy. And my power solution isn’t exactly compact. Or professional.
But hey, I had exactly enough ports on a power strip and it secures itself rather neatly on the side of the panel.
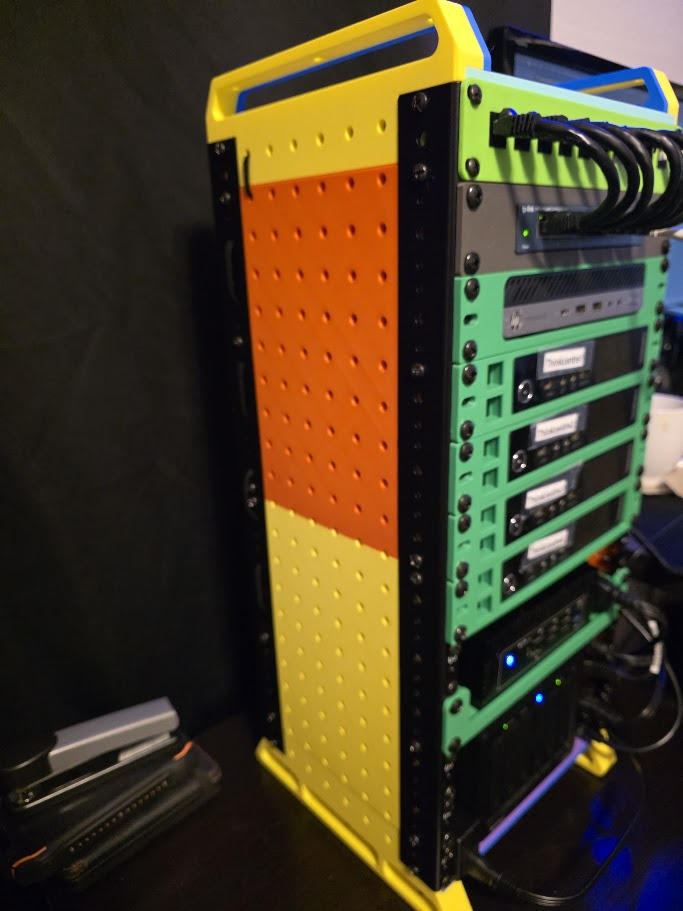
The holes in the side of the design of the panels make for very customizable mounting points for cables and zip-ties, where I could even cable manage the outside of the rack!
Overall, the front is really clean, I love that EVERYTHING (aside from the actual rack) was 3D printed. Every faceplate, the rack itself, the patch panel, all of it.

In another post I will share what I’m hosting and why I needed this in the first place, but please share with me what you have going on in your home lab!
Leave a Reply